This is a lovely caravan, with wonderful features - and it is also the most difficult Playmobil item I have ever put together. It took me and Mr Raven almost
three hours to assemble it. However, if someone had told me HOW to do certain things, I'm sure it would have been much quicker - so I've included in this review the problems I had
and the solutions I eventually discovered.
I would suggest, though, that if you are buying this for a child, that you assemble it in advance, before presenting it to them. And expect to need some calm patience!
There's quite a lot I'd like to mention and show, so this review is in two parts. This first part shows the attractions of this caravan, and a couple of the difficulties I had with the assembly. Part Two, which will follow later, covers the stickers, problems with a tap, and a lighthearted look at a small towing problem.

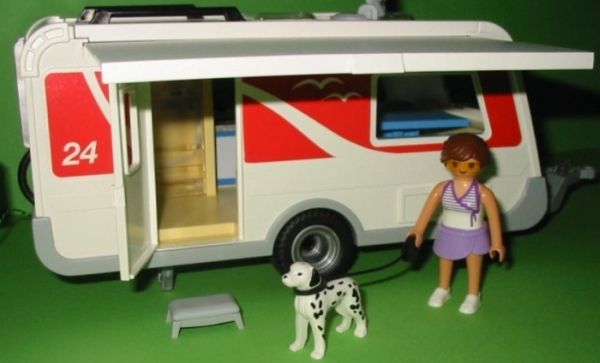
There is a bit more to this set than shown above, eg two more chairs, more place settings, a set of tools. My first delight, though, was this child klicky:
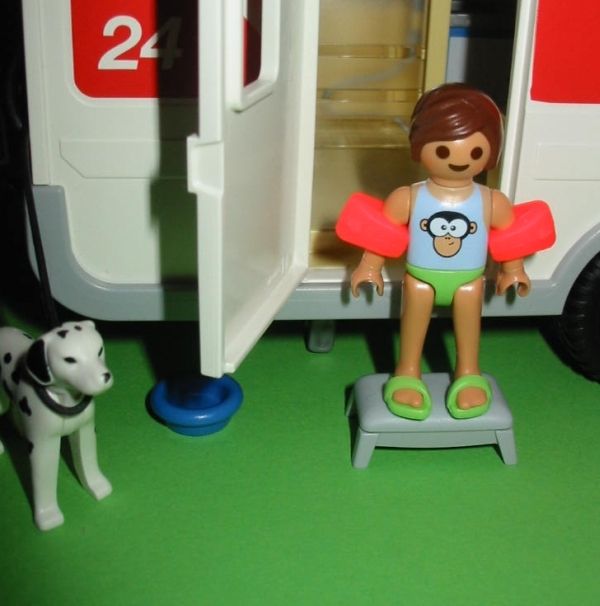
She's lovely and looks to me like she has just arrived at the campsite, and with great anticipation asks, 'Where's the swimming pool?'
I guess I find that particularly amusing because although I've bought most of the camping set, I have NOT got the swimming pool.

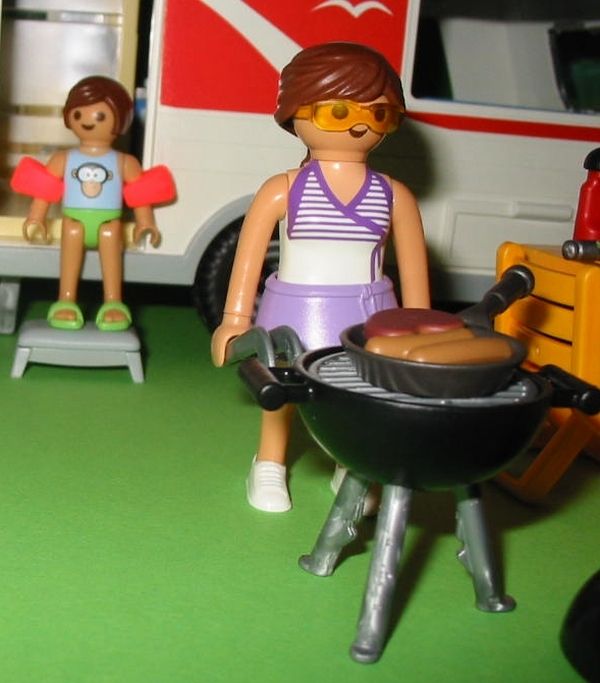
The mother is nice too:
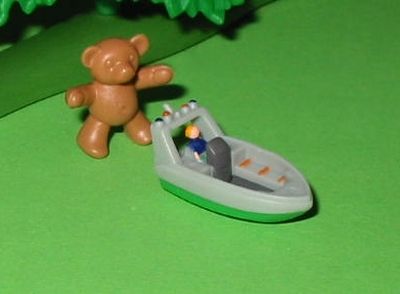
And I am really pleased with the brown teddy bear and the toy boat.
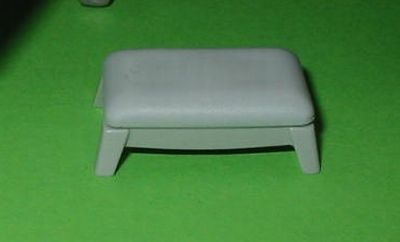
And even this caravan step, which can double up as a footstool or as a child's stool.
I was also pleased to have another tree stump.
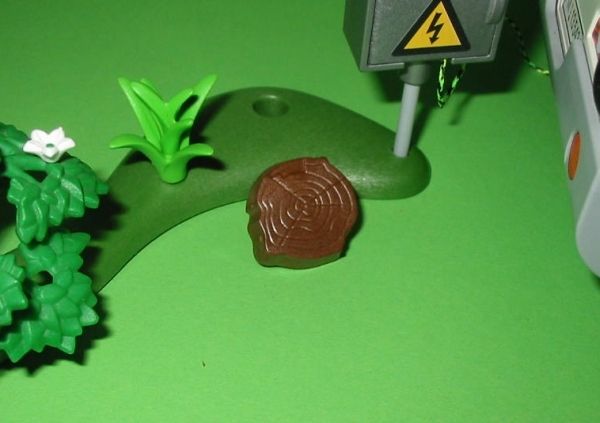
It was a very tight fit to that hole in the baseplate, however, so I decided not to insert it there. It would have gone in with a bit of force, but it would have been so difficult to take it out again. And I didn't want it permanently fixed in that particular baseplate.
I like the plug socket to the electricity generator:
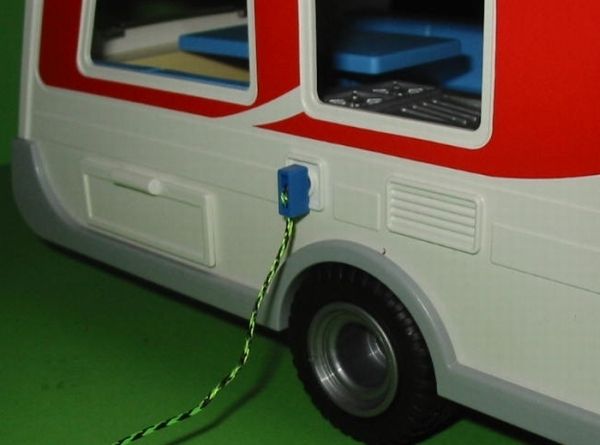
When I first attached the 'electricity cable' to plugs like these, I found it very difficult to attach it neatly - my knots hung out, along with the end of the string. Now I poke the knots and string back inside the plug using a toothpick, which looks much better!
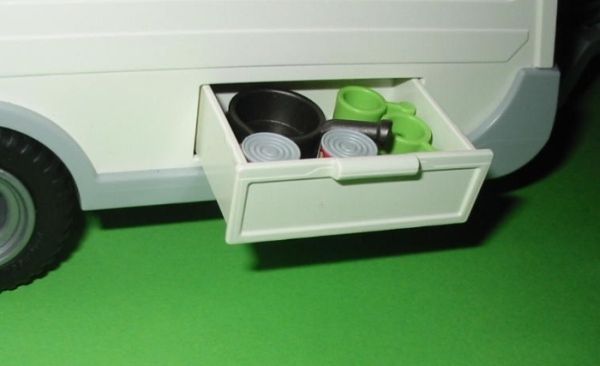
You'll notice on that above picture that there is a drawer on the side of the caravan. There's one on the other side too, and they are lovely storage places.
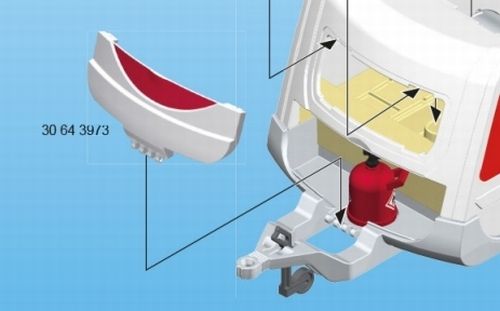
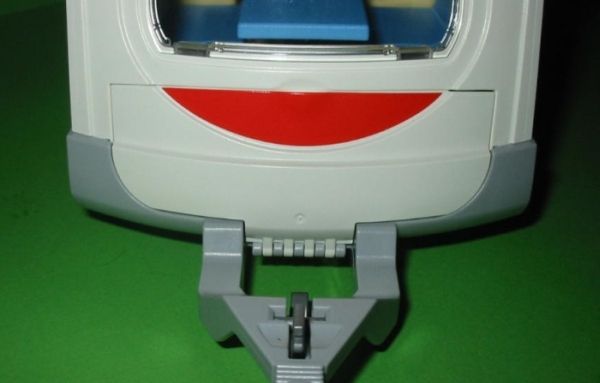
There's also a storage place in the front of the caravan, and the calor gas bottle can be securely fixed there. But the door to this storage place caused my first difficulty. A big difficulty.
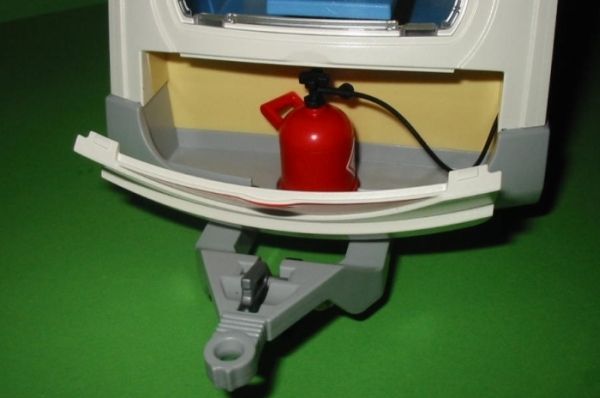
The instructions seem to imply that the door should be attached by pushing down vertically.
After
thirty minutes of pushing down vertically, pushing in horizontally, sweating, cursing, and despairing, I was beginning to think that I'd never ever be able to attach this part.
The way I eventually did it was this:
1. I gave the caravan to a handy helper (Mr Raven) to hold, with the storage area facing upwards.
2. I snapped closed the
top of the door.
3. Keeping the top of the door closed, I leant all my body weight onto the bottom (hinge part) of the door, while my handy helper held the caravan still.
And, at last, the door clicked into place!
And the gas bottle fell out of position. And the gas bottle has a little hole in the side of the storage area for the cable to enter....
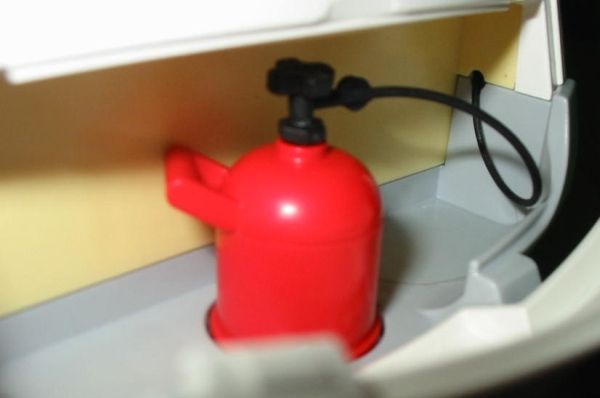
.... And once the door is attached, there is very little room for adult hands to insert that cable once again. More struggles.
It needs to enter a round hole, and then move vertically down into a slit (very small rectangular opening). In the end, I was able to do it by holding the end of the cable over the hole with one hand, and then poking it through the hole and downwards with a toothpick held in my other hand.
And it may have been that after dealing with that storage area and the gas bottle, I was somewhat weakened, but then when I moved on to fix the ladder onto the back of the caravan, I had great difficulty in attaching that too.
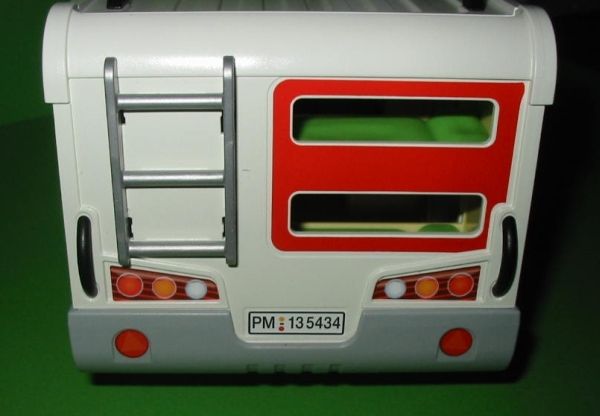
Success was eventually found when my handy helper held the caravan for me again, and I used some brute force and body weight to snap it into position. Oh, and it kind of helps to make sure that it is lined up properly too!
Back to the attractions of this set, now. Here's the canopy extended.
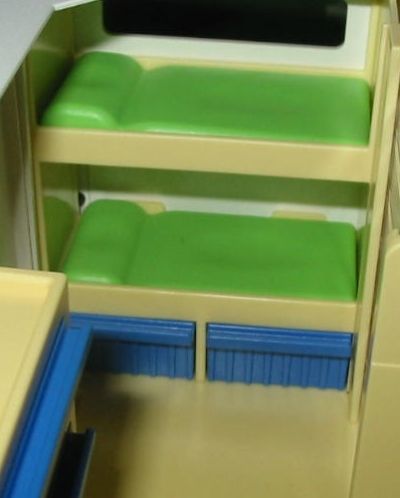
And look at those lovely bunkbeds, and with storage drawers underneath too.

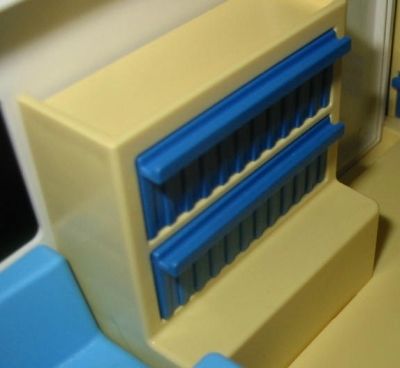
There's also another storage cabinet:
And a lovely dining area, which converts into a double bed.
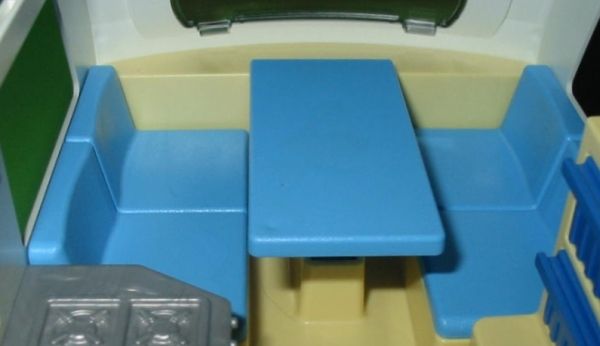
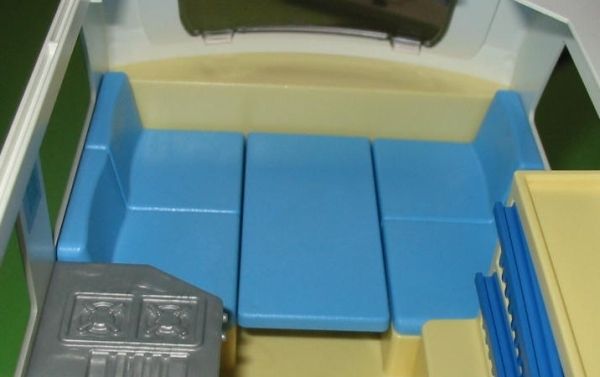
The table just pushes down, though (at least while it is this new) it does need a bit of force.
Part Two to follow later!