Author Topic: Project Kelly Kettle  (Read 1597 times)

Offline DrDalek6

  • Playmo Master
  • *****
  • Posts: 1845
  • Gender: Male
    • BTCV Mini Carbon Army
Project Kelly Kettle
« on: June 23, 2013, 15:37:16 »
Hello guys a while ago I finished work on a special project I've been working on it's designed to replicate our Kelly Kettle which we use at BTCV and I got inspiration for it after lookign at one of the cones that the school kids came with upside down and noting how similar it was in shape to our Kelly Kettle since then I've been debating with myself as to whether to vandalise the piece in order to achieve something better. This is a old photo of our Kelly Kettle

https://www.google.co.uk/search?q=btcv+sheffield&oe=utf-8&aq=t&rls=org.mozilla:en-GB:official&client=firefox-a&um=1&ie=UTF-8&hl=en&tbm=isch&source=og&sa=N&tab=wi&ei=7RPHUdeWMYOr0QXB64HwBg&biw=1366&bih=622&sei=8BPHUYOAFYm70QXi5IH4BA#facrc=_&imgdii=_&imgrc=uolMGfI8hSaAiM%3A%3BezzrCN3oPx1zwM%3Bhttp%253A%252F%252Ffarm4.staticflickr.com%252F3020%252F2388049172_87e2bb40f0_z.jpg%253Fzz%253D1%3Bhttp%253A%252F%252Fwww.flickr.com%252Fphotos%252Fjimhorsfall%252F2388049172%252F%3B640%3B426

Now to hand it over to the little men, "Our green assistant will demonstrate what we start with"


"Remove the top bit by unclicking it and then you can turn it upside down, the first thing to do is to saw off the very top as this will become the bit where you drop kindling into to in order to keep the fire going and heat the water up insde the Kelly Kettle"


"Now you can start sanding down the surface you may need to repeat this stage a couple of times"   


"You're going to need 2 holes in the top and 2 in the bottom you'll see why later on" I did this by putting a nail through the top and the bottom and then removing it there's probably better ways of doing this like with a small drill bit but, I used what I had at hand   


Offline DrDalek6

  • Playmo Master
  • *****
  • Posts: 1845
  • Gender: Male
    • BTCV Mini Carbon Army
Re: Project Kelly Kettle
« Reply #1 on: June 23, 2013, 15:47:41 »
Checking over the plans


"Now you remember those holes we drilled? We now need to make some handles to go through these holes, for this purpose we're using some thin flexible wire which we'll bend into the right shape. We're also going to make some wooden handles using some locally sourced bamboo canes" I cut a selction of bamboo canes which had snapped off one of our bamboo plants, I then selected pieces which looked the right size and tested them by seeing how well they fitted in a Klickys hand, I used a mini saw on my pocket tool to cut them into lengths the right size as I found that my secateurs crushed the stems. I genrally try to avoid gluing parts if I don't have to so that I have the option of dissassembling something later if necessary but, I found that  a bit of glue applied inside the bamboo with a skewer stopped them from sliding about which can make the canes crack


The handles taking shape


Offline DrDalek6

  • Playmo Master
  • *****
  • Posts: 1845
  • Gender: Male
    • BTCV Mini Carbon Army
Re: Project Kelly Kettle
« Reply #2 on: June 23, 2013, 15:57:27 »
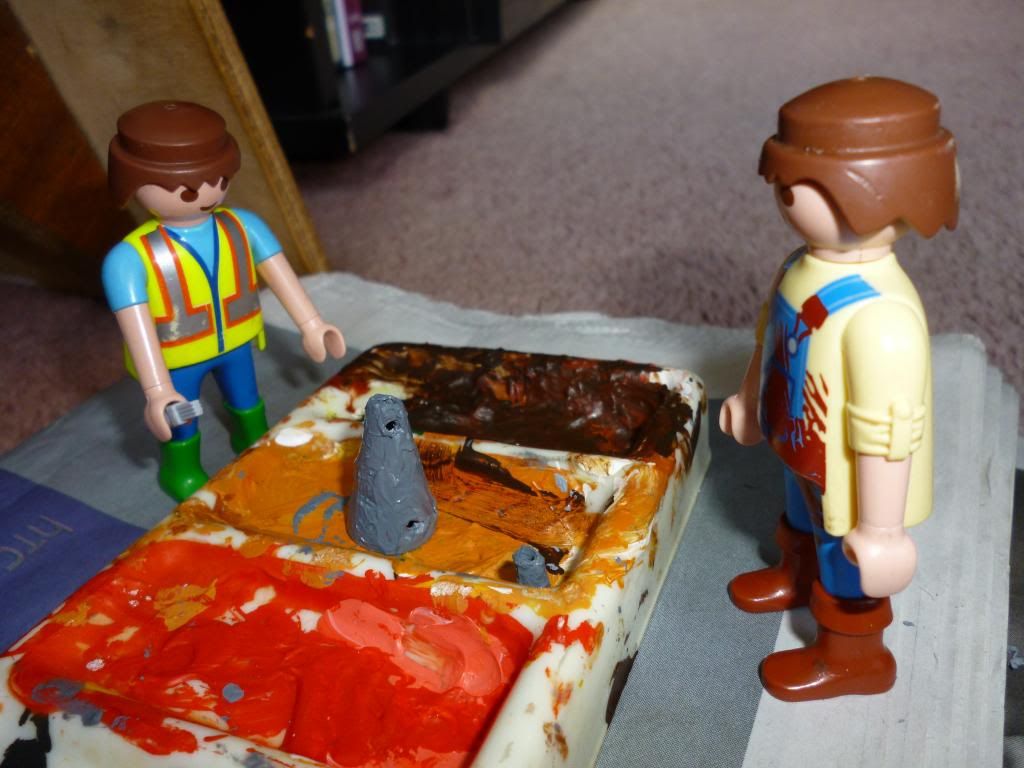
"Next up you can apply a first layer of paint" my original plan was to keep the original handle but, as you can see I decided that the wire handles would do and opted for accuracy, I mixed up a light grey paint as a base layer and then I applied smaller quantities of black paint which I smudged over the surface to give it the battered and smoky appearance of our big Kelly Kettle and I also applied black paint inside again to give it that smoked out feel


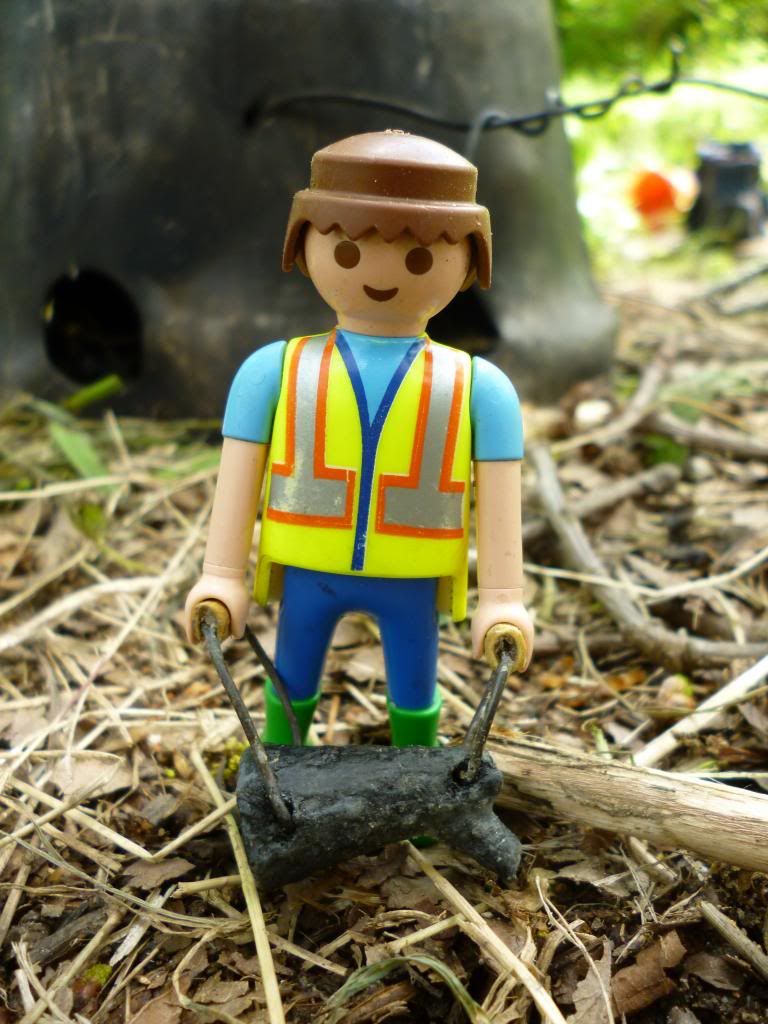
I missed out photographing a few steps but, after this I added the handles and also glued on the spout which is the little grey bit next to the Kelly Kettle in the last photo, again I made this out of bamboo so that it would be hollow, on a reall Kelly Kettle you would have a seperate compartment I guess and you woudl pour the water in through the spout to be heated and then pour it again when it had boiled. Here it is ready for action


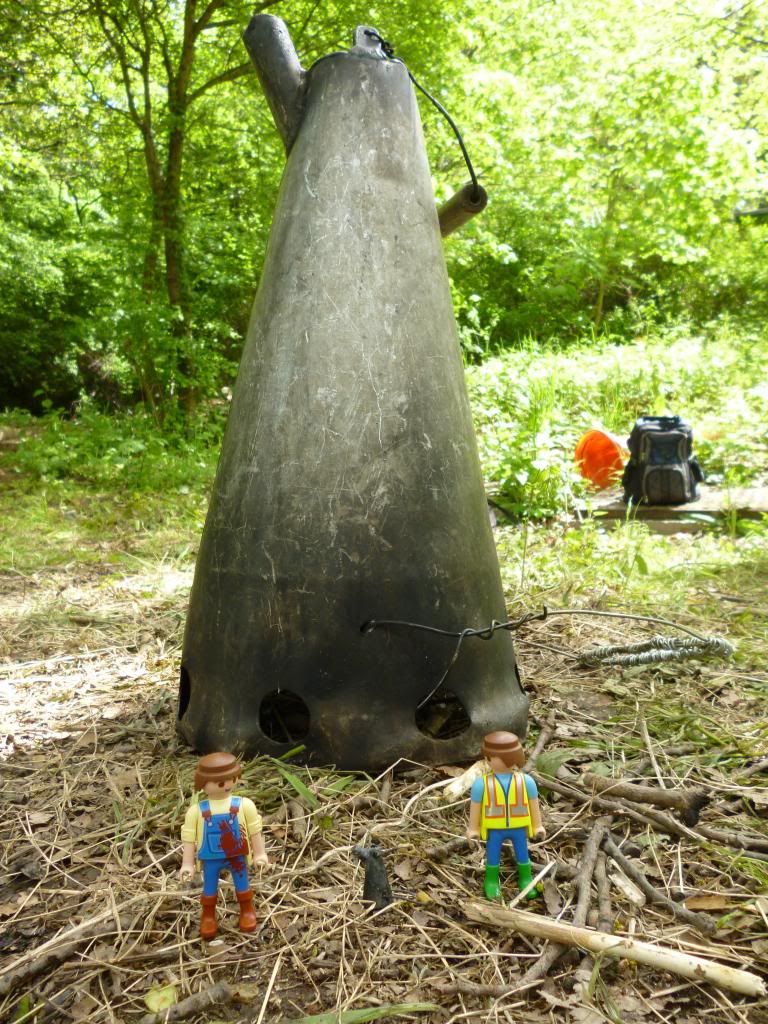
It matches up fairly well against its big brother
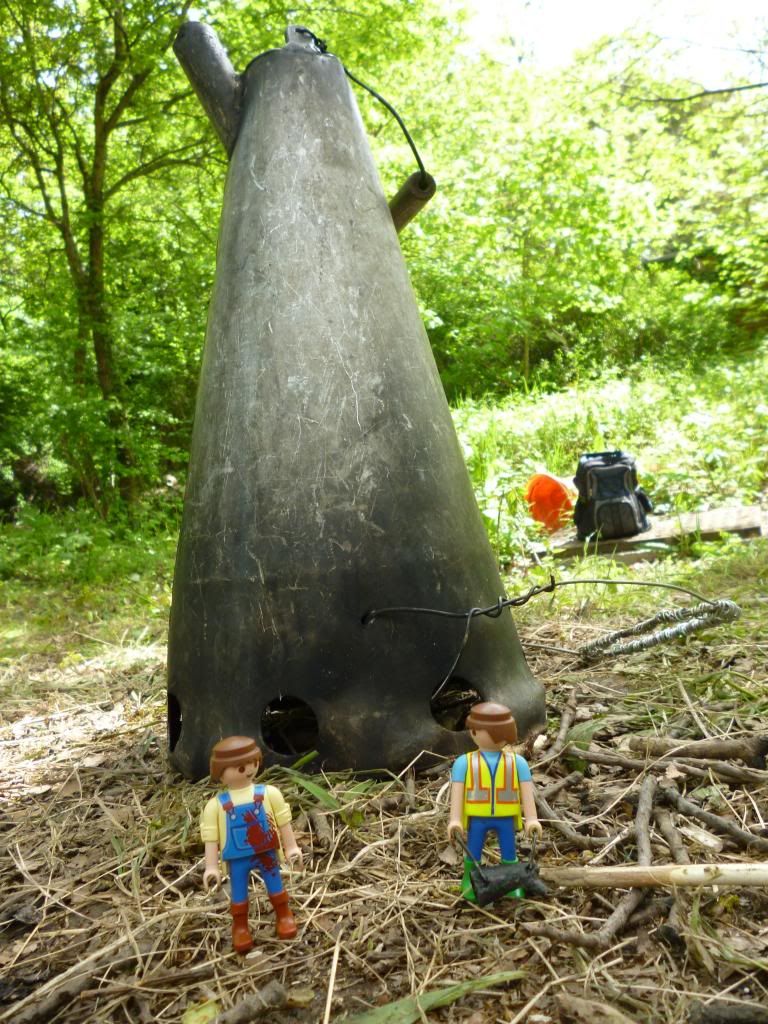


Ta da


Offline DrDalek6

  • Playmo Master
  • *****
  • Posts: 1845
  • Gender: Male
    • BTCV Mini Carbon Army
Re: Project Kelly Kettle
« Reply #3 on: June 23, 2013, 16:01:01 »
This is our big Kelly Kettle in action


Now comes the reall challenge I need to find something suitable to build a base from, basically I'm looking for something which is either metal or can be made to look similar to metal and which I can cut through to make a suitable sized square for a base and make some holes in for the handle, accuracy isn't as important so long as it fulfils the above criteria


Offline tahra

  • Playmo Guru
  • ******
  • Posts: 14838
  • Gender: Female
    • playkingdoms
Re: Project Kelly Kettle
« Reply #4 on: June 23, 2013, 16:56:14 »
:o

Amazing!  Great pics... the guy all full of paint.. :D

(I had never heard of such a thing before! Learn and live, right, quoting my favorite Aurenfaie ;) )

Offline DrDalek6

  • Playmo Master
  • *****
  • Posts: 1845
  • Gender: Male
    • BTCV Mini Carbon Army
Re: Project Kelly Kettle
« Reply #5 on: June 23, 2013, 20:02:36 »
:o

Amazing!  Great pics... the guy all full of paint.. :D

(I had never heard of such a thing before! Learn and live, right, quoting my favorite Aurenfaie ;) )

Thanks I'm glad you like it and that I was able to do a better job than expected  :-[ I don't thtink I'd ever heard of one before I came to BTCV and I was surprised when I looked on google this is the more common design for a Kelly/Storm Kettle the design of ours looks to be a far more old fashioned traditional design

https://www.google.co.uk/search?q=kelly+kettle&oe=utf-8&aq=t&rls=org.mozilla:en-GB:official&client=firefox-a&um=1&ie=UTF-8&hl=en&tbm=isch&source=og&sa=N&tab=wi&ei=WlPHUavJAqnH0QWVs4GIDw&biw=1366&bih=622&sei=XFPHUYD7HOeq0QXvvYCYBg#facrc=_&imgdii=_&imgrc=SEzyxdbIJMZJhM%3A%3BHFfVjqbR8M-exM%3Bhttp%253A%252F%252Foldjimbo.com%252Fsurvival%252Fkellylight.jpg%3Bhttp%253A%252F%252Fwww.britishblades.com%252Fforums%252Fshowthread.php%253F5361-Kelly-Kettle-Fuel%3B537%3B399

https://www.google.co.uk/search?q=kelly+kettle&oe=utf-8&aq=t&rls=org.mozilla:en-GB:official&client=firefox-a&um=1&ie=UTF-8&hl=en&tbm=isch&source=og&sa=N&tab=wi&ei=WlPHUavJAqnH0QWVs4GIDw&biw=1366&bih=622&sei=XFPHUYD7HOeq0QXvvYCYBg#facrc=_&imgdii=_&imgrc=L9uS5hSFg24r1M%3A%3Be7cz5i7izBirqM%3Bhttp%253A%252F%252Fwww.outofdoors.co.uk%252Fwebshop%252Fimages%252Fwebshop%252F1%252Fproduct%252Flarge%252FKelly-Kettle--Trekker---0-57ltr-11.jpg%3Bhttp%253A%252F%252Fwww.outofdoors.co.uk%252Fp90%252FKelly-Kettle-Stainless-Steel-Trekker-%280-57ltr%29%252Fc0-20-20%3B904%3B882

In fact we've also got a little one of that design which one of the gardeners at the Botanical Gardens gave us but, it only has one air hole which makes it much harder to keep it alight, we think that our Kelly Kettle might be a custom made piece although we're lucky enough to have a spare identical Kelly Kettle which we found under the sink in the basement alogn with some rather nice mugs and not so nice washing up bowls and watering cans. Personally I've recently joined our team of brewers and I much prefer our big Kelly Kettle for the look and ease of brewing  :)